The process of submitting and generating a new certificate is a two steps process listed below:
- Request – This is the process where we create a certificate request and save it as a.CER file, In many cases your application or you will create it from IIS or the certificates MMC.
- Issuing \ Generating certificate – this process follows step one, Submitting the requested file to our Certificate Authority and copying the new certificate
Generate CSR
The first step is to generate a CSR. As we have finished installing a web server in our previous article now let’s secure the default website hosted under IIS and the certificate will be issued by a local CA in the same domain.
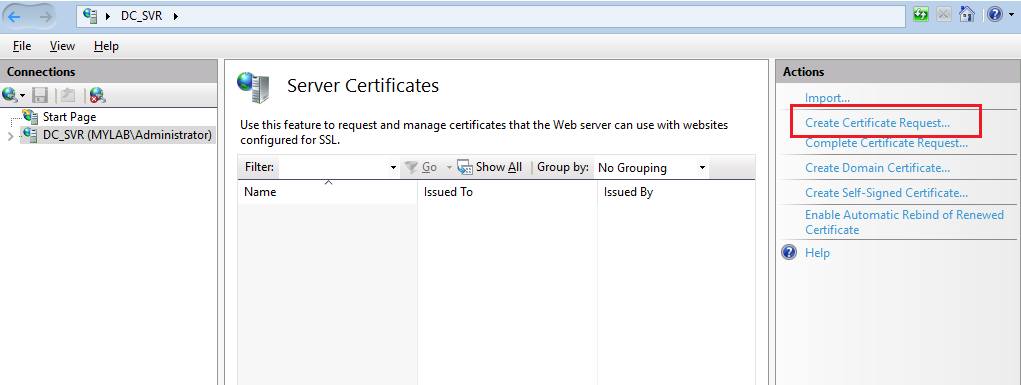
In order to generate CSR lets launch IIS and highlight your server name in the left pane.
Now you will have to double click on Server Certificates icon in the middle pane of IIS (see below):
Click Create Certificate Request in the right pane.
You will see a new pop-up Distinguished Name Properties where you need to fill out all the information requested to generate a CSR.
- Common Name: The Fully Qualified Domain Name that the certificate will be issued to and secure. for example www.yourdomain.com or if you are enrolling for a wildcard certificate *.yourdomain.com
- Organization: The Registered Organisational Name the certificate belongs to.
- Organizational Unit: The Department within the Organization.
- City/locality: The Business registered location (not the actual server location).
- State/province: The Business registered state or province (Do not abbreviate).
- Country/region: The two-letter ISO country code.
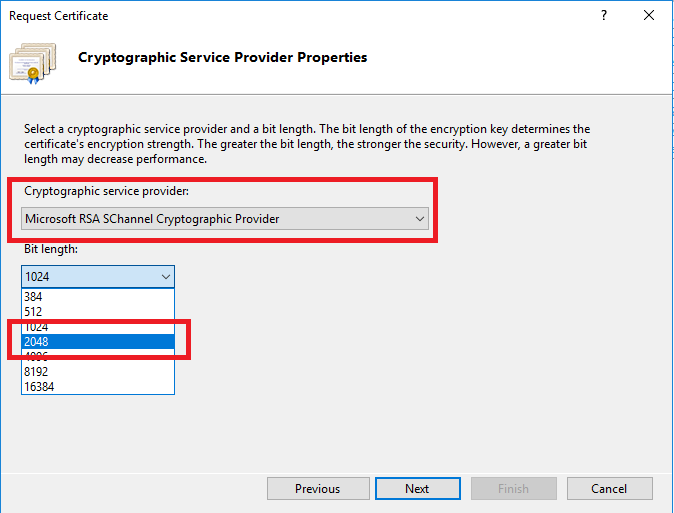
After you fill all the Information and hit Next. It will show you Cryptographic Service Provider Properties wherein you leave the Cryptographic Service Provider to default Microsoft RSA Schannel Cryptographic Provider, however, change the Bit length to 2048.
Now let’s provide the path where you want to save the CSR file:
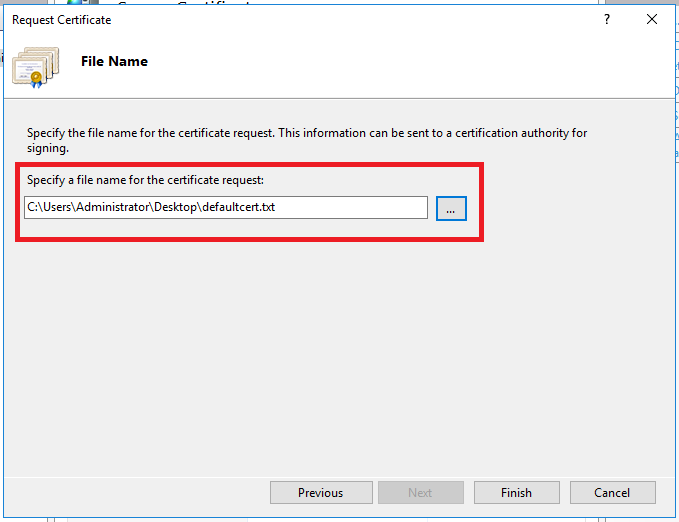
That’s it we finished with STEP 1 of generating a CSR successfully.
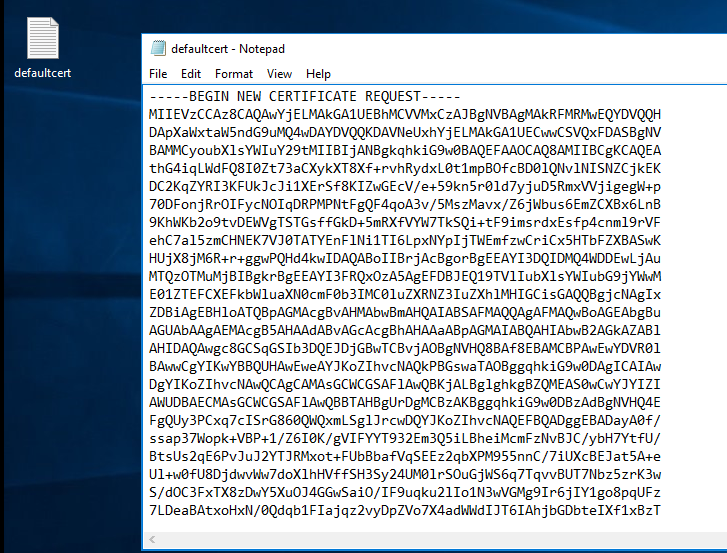
See how a CSR txt file looks like:
Generate Certificate
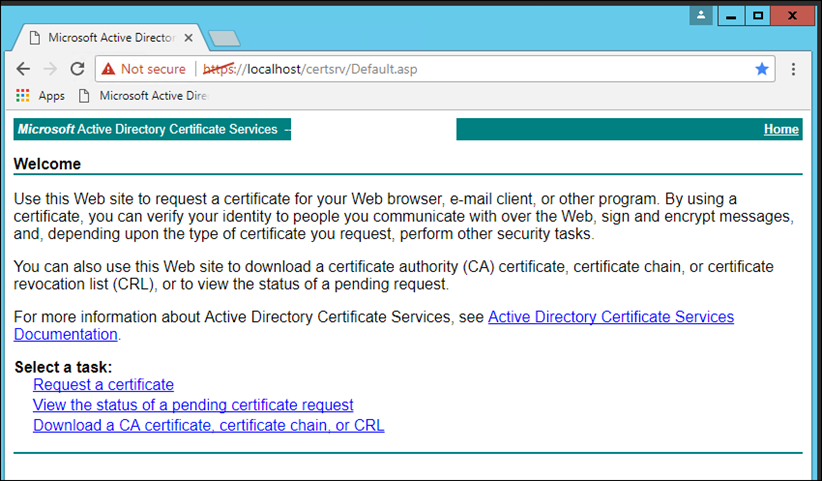
In this step, I’ll log in to my CA (Need to be a Domain Administrator to do so)
To Issue the certificate, I’ve logged In to my CA Server and I’m using the URL below (change to your hostname or access it from the CA Server ) to access the CA Admin Interface
Note: you will need to use a Domain Admin account to complete this process
https://localhost/certsrv/Default.asp
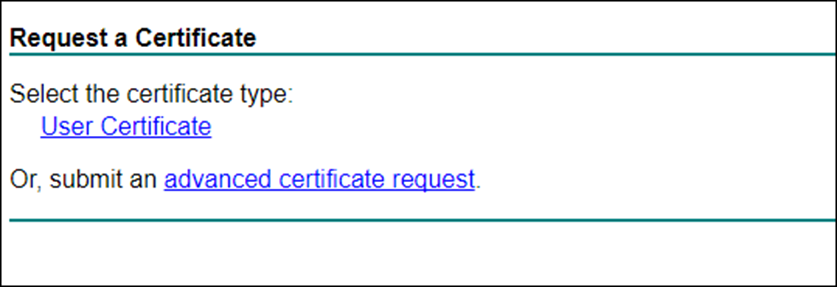
In the Web, Interface click on Advanced Certificate request (Need for Web Server Certificate)
Next, Copy the request file content without white spaces

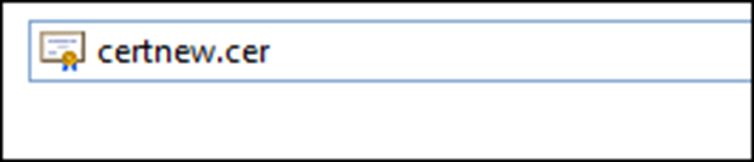
In the Certificate Issued page click on Download Certificate