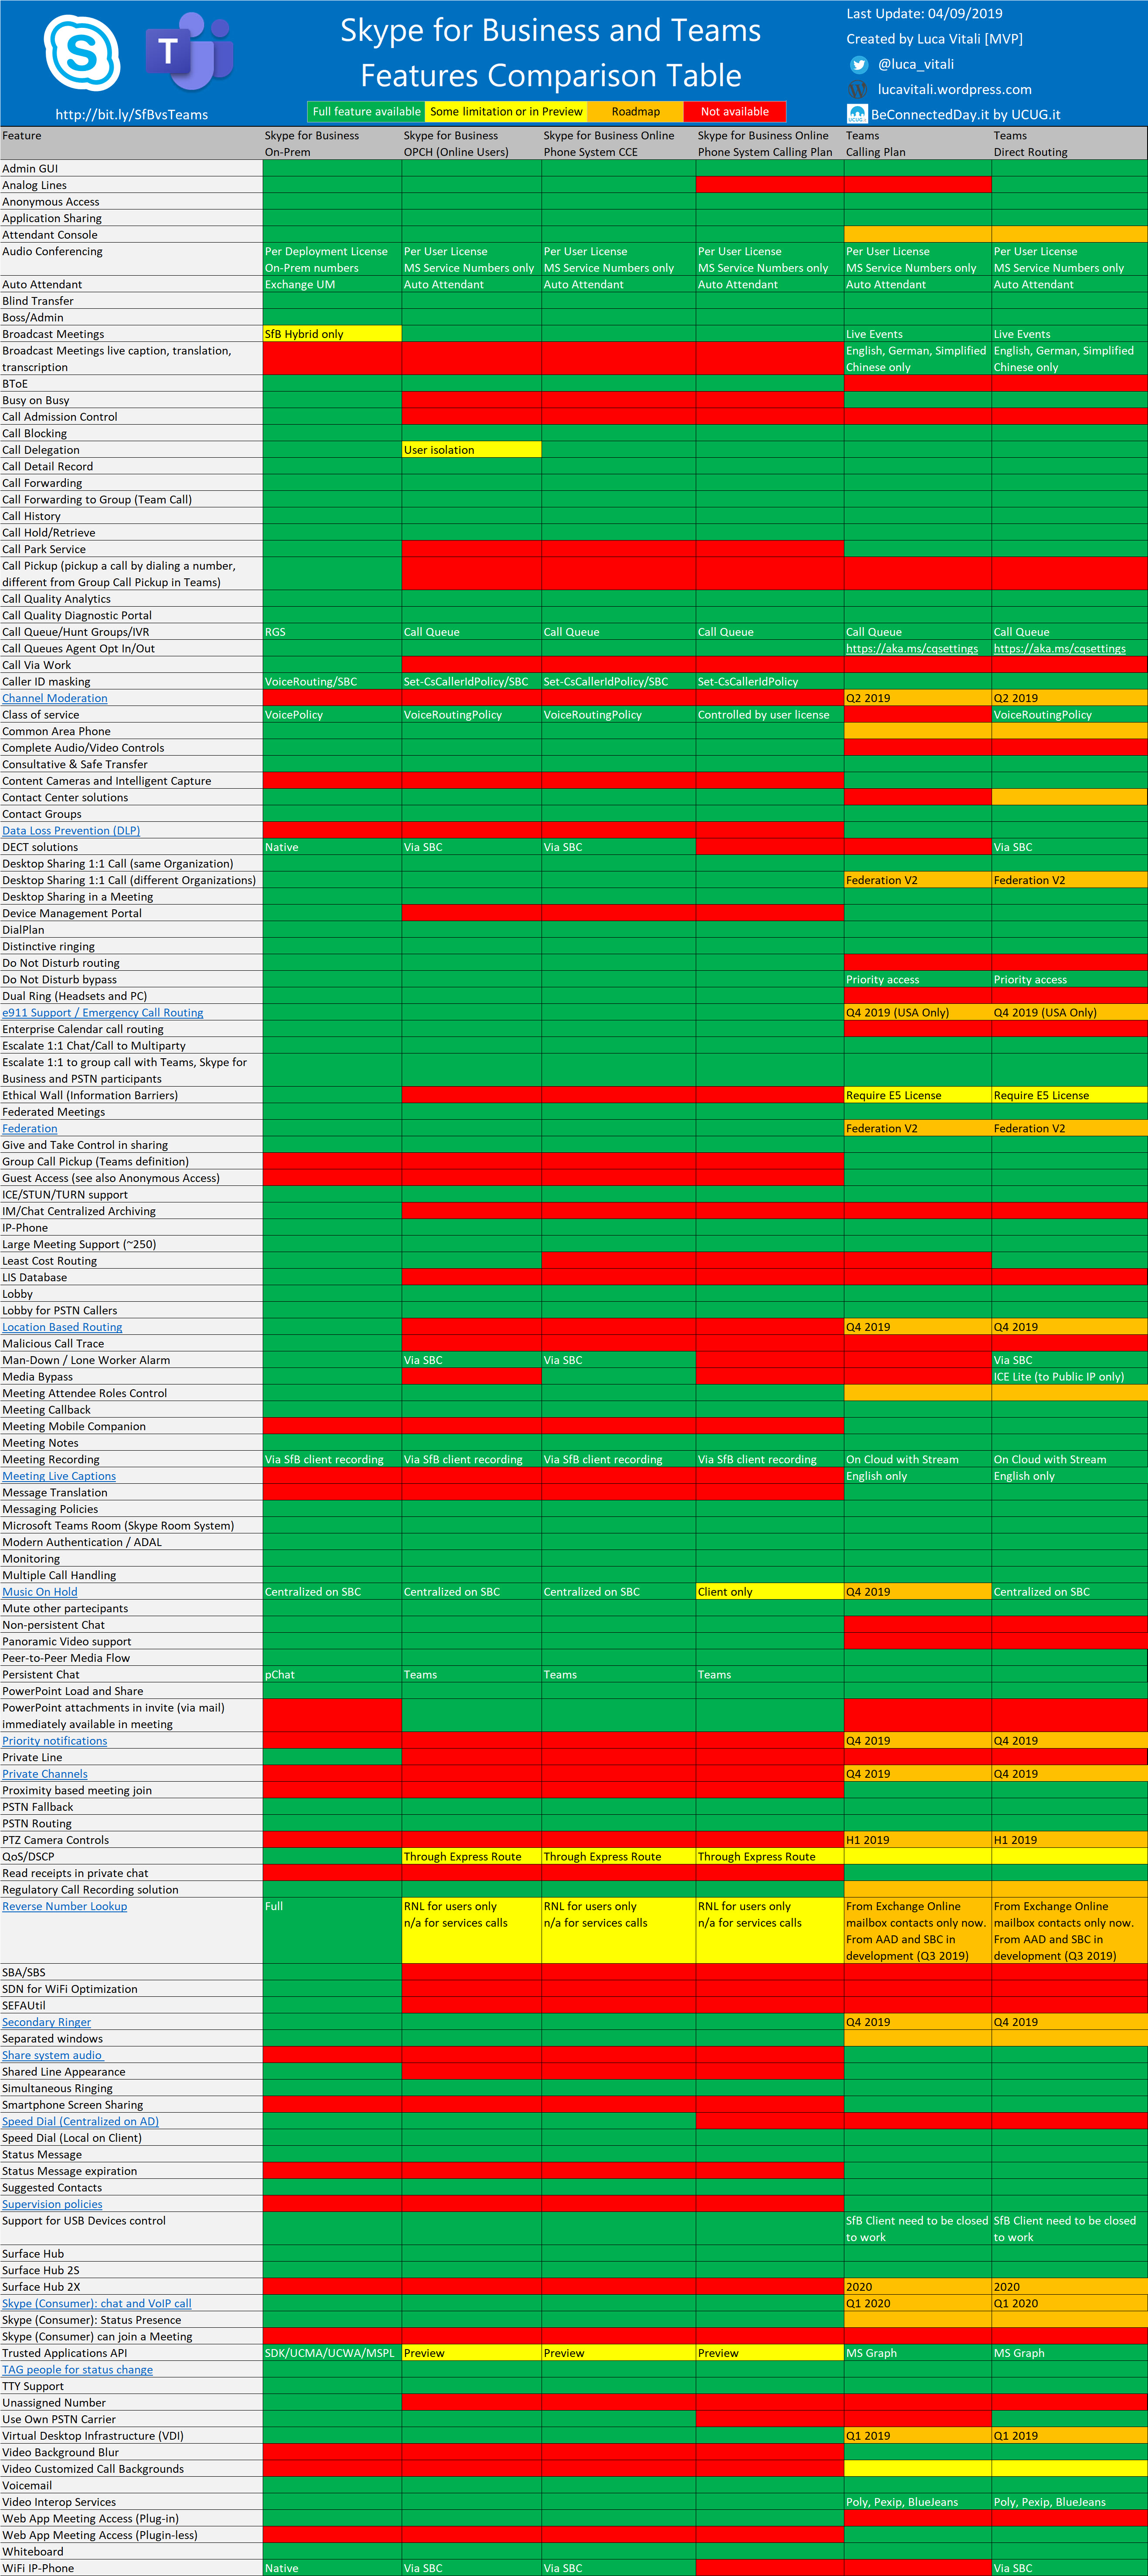
 Once you successfully completed hybrid connectivity between your Skype for Business on-premises and Office 365 you should be ready to migrate your users to Skype for Business Online or Microsoft Teams.
In this article it will be showed how to migrate users to Microsoft Teams or Skype for Business Online.
Prerequisites
- Azure AD Connect is properly configured and be syncing all relevant Skype for Business attributes (msRTCSIP-*) for the user
- Skype for Business hybrid is configured
- The user must be assigned a license for Skype for Business Online (Plan 2), and if they will be using Teams, they must also have a Teams license.
- An account with sufficient privileges in both the on-premises Skype for Business Server environment as well as in the Microsoft 365 or Office 365 who will perform migration operation. In the on-premises environment, the user performing the move must have the CSServerAdministrator role in Skype for Business Server. In Microsoft 365 and Office 365, the user performing the move must either be a Global Administrator or must have both Skype for Business Administrator and User Administrator roles.
!Important!
- If you are using the Skype for Business Admin Control Panel, you will be prompted to provide credentials for a Microsoft 365 or Office 365 account with the appropriate roles, as noted above. You must supply an account that ends in .onmicrosoft.com. If that is not possible, then use the Move-CsUser cmdlet.
- If you are using
Move-CsUserin PowerShell, you can either use an account that ends in.onmicrosoft.com, or you can use any on-premises account that is synchronized into Azure AD, provided that you also specify theHostedMigrationOverrideUrlparameter in the cmdlet. The value of the hosted migration override URL is a variant of the following URL: https://adminXX.online.lync.com/HostedMigration/hostedmigrationService.svc
In the above URL, replace the XX with either two or three characters, determined as follows:- In a Skype for Business Online PowerShell session, run the following cmdlet:
Get-CsTenant|ft identity - The resulting value will be in the following format:
OU=<guid>,OU=OCS Tenants,DC=lyncXX001,DC=local - The two- or three-digit code is the XX contained in the section, DC=lyncXX001. If it’s a two-character code, it will be a digit followed by a number (such as 0a). If it’s a three-character code, it will be two letters followed by a digit (such as jp1). In all cases, you’ll see 001 immediately after the XX code.
- In a Skype for Business Online PowerShell session, run the following cmdlet:
To move users between on premises and the cloud (whether to Teams or to Skype for Business Online), use either the Move-CsUser cmdlet or the Skype for Business Admin Control Panel, both of which are on-premises tools.
Migrate users from Skype for Business Server (on premises) to Skype for Business Online
- With Move-CsUser cmdlet:
- Specify the user to move using the
Identityparameter. - Specify the
-Targetparameter with the value “sipfed.online.lync.com”. - If you do not have one account with sufficient permissions in both on premises and Office 365, use the
-credentialparameter to supply an account with sufficient permissions in Office 365. - If the account with permissions in Office 365 does not end in “.onmicrosoft.com”, then you must specify the
-HostedMigrationOverrideUrlparameter, with the correct value as described above
The following cmdlet sequence can be used to move a user to Skype for Business Online. It assumes the Microsoft 365 or Office 365 credential is a separate account and supplied as input for the Get-Credential prompt.
|
1 2 3 4 |
$cred=Get-Credential $url="https://admin1a.online.lync.com/HostedMigration/hostedmigrationService.svc" Move-CsUser -Identity username@contoso.com -Target sipfed.online.lync.com -Credential $cred -HostedMigrationOverrideUrl $url |
If the administrator account is MFA (Multi-Factor Authentication) enabled, do not specify the -Credential parameter. The administrator will be prompted for credentials.
With Skype for Business Server Control Panel
- Open the Skype for Business Server Control Panel app.
- In the left navigation, choose Users.
- Use Find to locate the user(s) you would like to move to Skype for Business Online.
- Select the user(s), and then, from the Action dropdown above the list, choose Move selected users to Skype for Business Online.
- In the wizard, click Next.
- If prompted, sign in to Microsoft 365 or Office 365 with an account that ends in .onmicrosoft.com and has sufficient permissions.
- Click Next, and then Next one more time to move the user.
- Note that status messages regarding success or failure are provided at the top of the main Control Panel app, not in the wizard.
Once all users will be migrated online you can decomission your on-premise Skype for Business infrastructure.
Migrate users from Skype for Business Server (on premises) to Teams
With Move-CsUser cmdlet:
- Specify the user to move using the
Identityparameter. - Specify the -Target parameter with the value “sipfed.online.lync.com”.
- Specify the
MoveToTeamsswitch. - If you do not have one account with sufficient permissions in both on premises and the cloud service (Microsoft 365 or Office 365), use the
-credentialparameter to supply an account with sufficient permissions in Office 365. - If the account with permissions in Microsoft 365 or Office 365 does not end in “onmicrosoft.com”, you must specify the
-HostedMigrationOverrideUrlparameter, with the correct value as described above
The following cmdlet sequence can be used to move a user to TeamsOnly, and assumes the Microsoft 365 or Office 365 credential is a separate account and supplied as input for the Get-Credential prompt:
|
1 2 3 |
$cred=Get-Credential $url="https://admin1a.online.lync.com/HostedMigration/hostedmigrationService.svc" Move-CsUser -Identity username@contoso.com -Target sipfed.online.lync.com -MoveToTeams -Credential $cred -HostedMigrationOverrideUrl $url |
In case you have MFA:
|
1 |
Move-CsUser -Identity username@contoso.com -Target sipfed.online.lync.com -HostedMigrationOverrideUrl $url -MoveToTeams -BypassAudioConferencingCheck -BypassEnterpriseVoiceCheck -UseOAuth |
With Skype for Business Server Control Panel
- Open the Skype for Business Server Control Panel app.
- In the left navigation, choose Users.
- Use Find to locate the user(s) you would like to move to Teams.
- Select the user(s), and then, from the Action dropdown above the list, choose Move selected users to Teams.
- In the wizard, click Next.
- If prompted, sign in to Microsoft 365 or Office 365 with an account that ends in .onmicrosoft.com and has sufficient permissions.
- Click Next, and then Next one more time to move the user.
- Note that status messages regarding success or failure are provided at the top of the main Control Panel app, not in the wizard.
When a user is moved from on premises to Teams Only, the user’s Skype for Business home is moved from on premises to online and the user is assigned TeamsUpgradePolicy with mode=TeamsOnly. After a user is moved from on-premises to TeamsOnly mode:
- All incoming calls and chats from other users (whether sent from Skype for Business or Teams), will land in the user’s Teams client.
- The user will be able to interoperate with other users who use Skype for Business (whether online or on premises).
- The user will be able to communicate with users in federated organizations.
- New meetings scheduled by that user are Teams meetings.
- User can still join any Skype for Business meetings.
- The user’s pre-existing meetings scheduled for the future will be migrated from on-premises to Teams.
- Contacts that existed on premises are available in Teams shortly after the user logs on for the first time.
- Users cannot initiate calls or chats from Skype for Business, nor can they schedule new meetings in Skype for Business. If they attempt to open the Skype for Business client, they will be redirected to use Teams as shown below. If the Teams client is not installed, they will be directed to the web version of Teams using their browser.


