Single User Mode (sometimes known as Maintenance Mode) is a mode in Unix-like operating systems such as Linux operate, where a handful of services are started at system boot for basic functionality to enable a single superuser perform certain critical tasks.
It is runlevel 1 under system SysV init, and runlevel1.target or rescue.target in systemd. Importantly, the services, if any, started at this runlevel/target varies by distribution. It’s generally useful for maintenance or emergency repairs (since it doesn’t offer any network services at all), when a computer is not capable of normal operations.
Once you have decided to enter single user mode for maintenance or recover from crash you will need to VNC to the server or in other words emulation of physical console. Don’t worry about logging into the server at this point, since this process will need you to reboot the server.
Once you issue the hard reboot, you may need to click Refresh in the top right of the VNC screen since the hard reboot will reset that connection. You need to click this refresh very quickly otherwise you will miss the boot screen where you can interrupt the boot process.
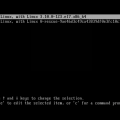
When the server starts to boot, you will see a GRUB menu/screen. You will need to interrupt the boot by pressing any key.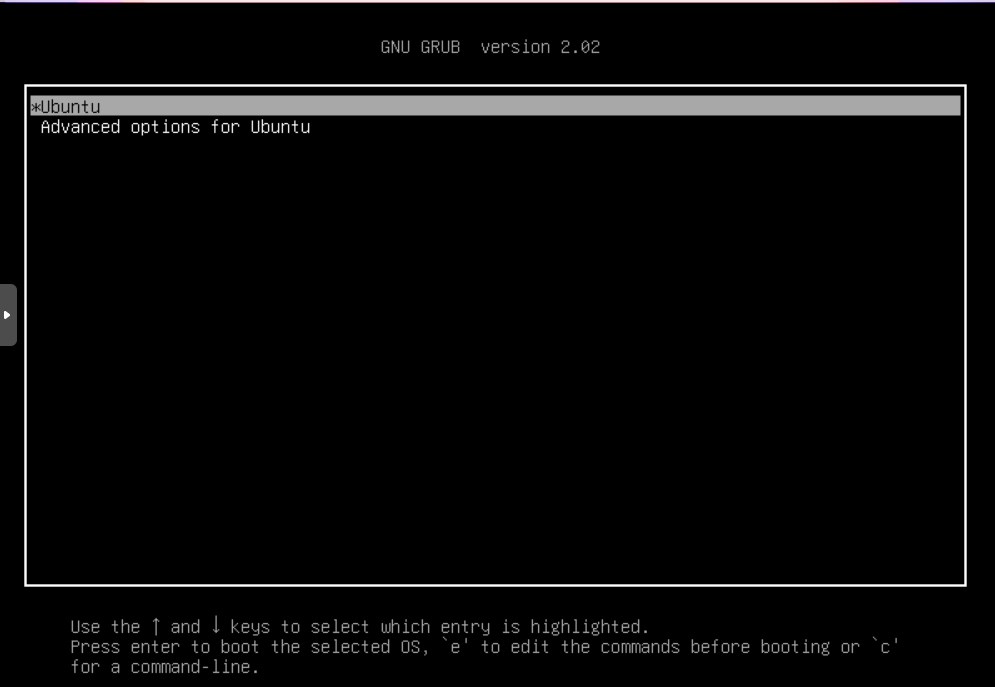
Now you can edit the default kernel your system boots to. By default, the most recently added kernel is at the top of the list and is the default kernel.
Press “e” to edit.
Go to the line that starts with “linux /boot/vmlinuz”.
Replace the end of the line “ro \ console=ttyS0 console=tty0” or “ro” with “rw init=/bin/bash”.
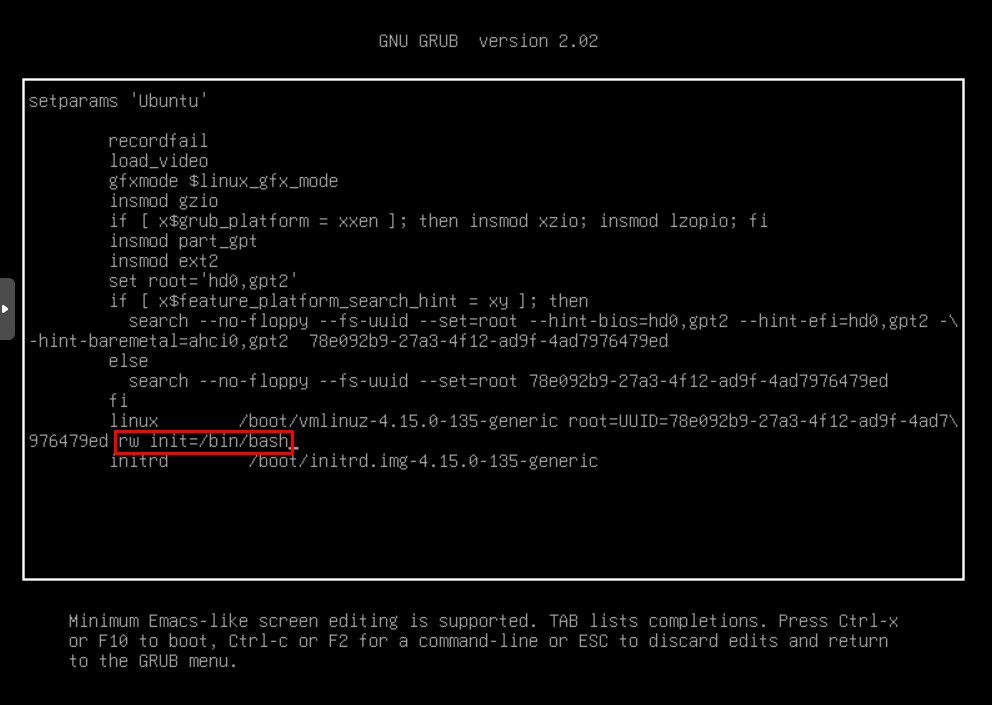
Press “F10” to boot into the newly edited kernel.
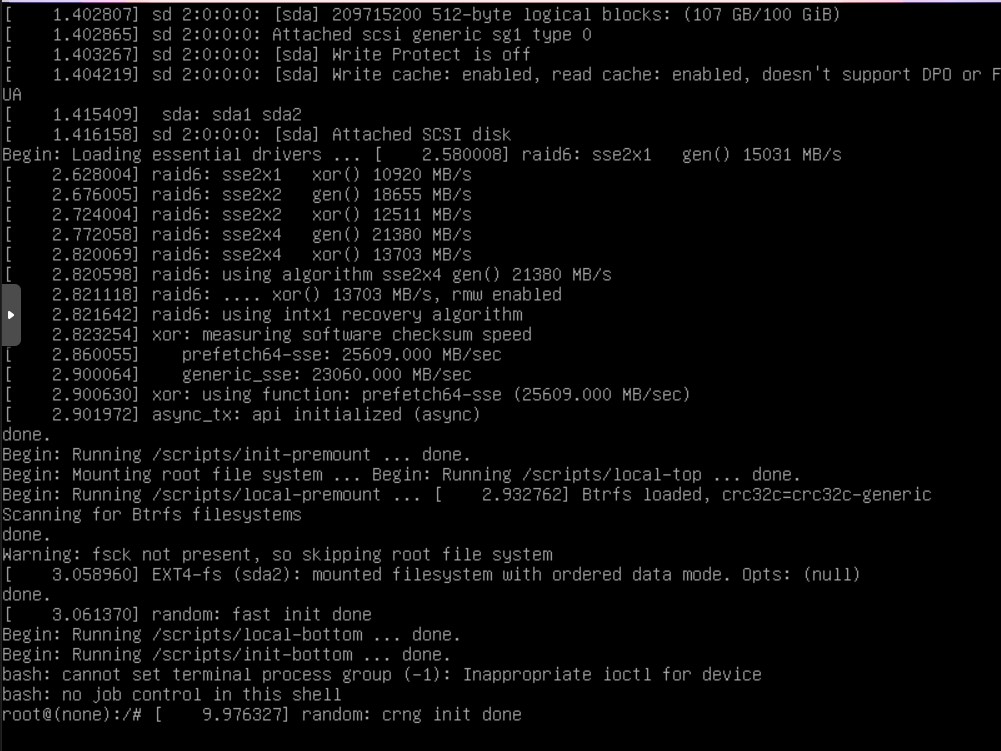 Now you are in single user mode. You may perform actions such as FSCK, passwd, and other commands for maintenance.
Good luck!