 ViciBox is worldwide popular callcenter solution. If you want to run ViciBox in virtual machine under Cloudmin you will need to perform a few additional steps to make running because there is no ready-to-go ViciBox image for Cloudmin available.
Install Vicibox from iso and get virtual hard disk image
For that you can use any hypervisor that allows you to get vhd / vhdx that can be converted to qcow or raw format supported by Cloudmin. I installed ViciBox system in Hyper-V and uploaded .vhdx file to Cloudmin host. After that you can get .raw image with:
|
1 |
qemu-img convert -f vhdx -O raw vicibox11.vhdx vicibox11.raw |
Now you have virtual hard disk that can be imported in Cloudmin.
Import .raw virtual hard disk into Cloudmin
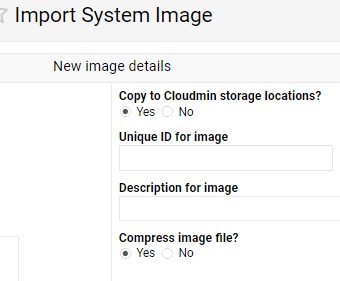
Go to Import system image in Cloudmin. Choose type and location:

Click Continue. In Image Source specify path to .raw image.
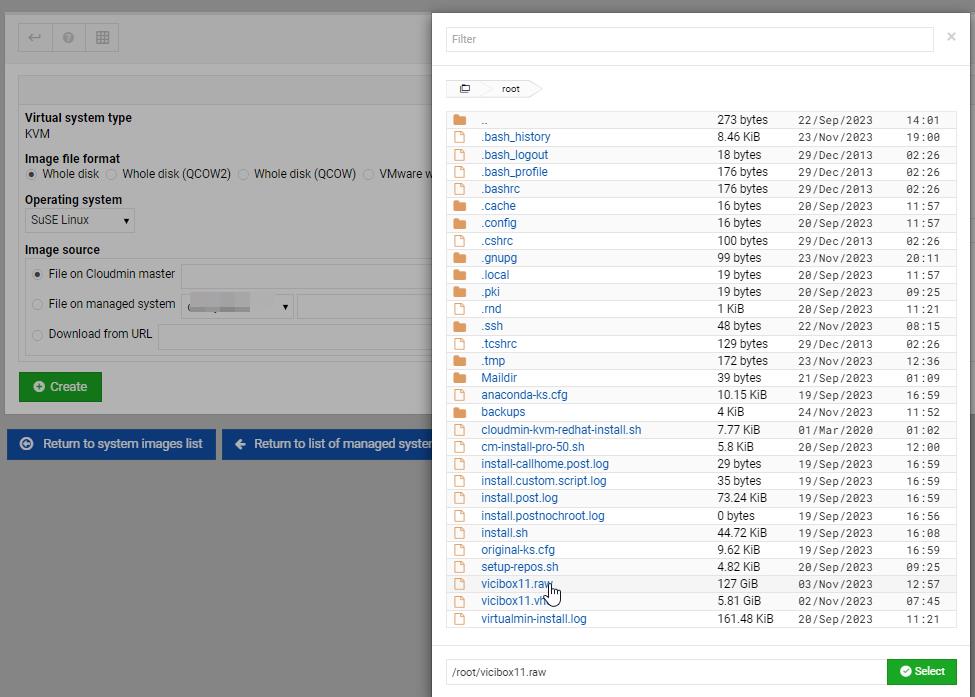 Make sure you have “
Copy to Cloudmin storage locations” and “Compress image file” set to “Yes”
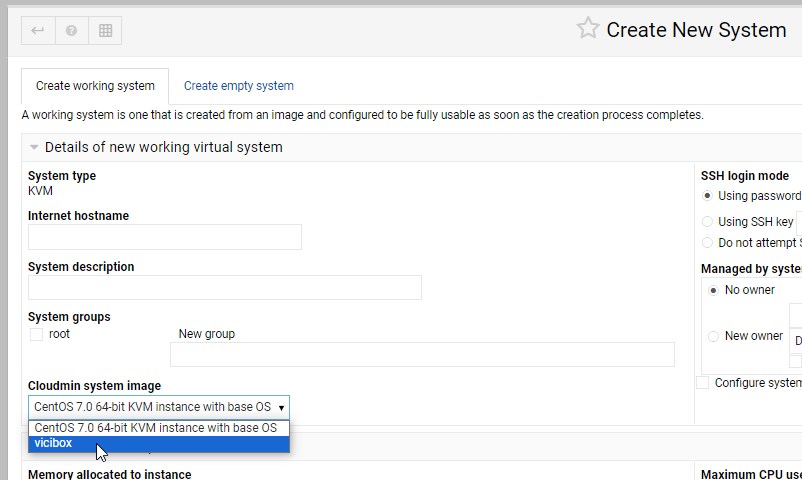
After process will be completed you will have ViciBox image available for selection on VM creation:
Create VM and configure networking inside virtual machine
Whatever IP you set in “Host and Networking options” it will not be configured properly inside virtual machine so you will have to do it by yourself. After VM is created go to “System State -> Graphical console“. If you don’t have Java installed the applet will not be available for and you will see IP and port on Cloudmin host you should connect to get into the VM’s console.

Use VNC client , I recommend MobaXTerm to configure VNC session and connect to the ViciBox console. If connection cannot be established make sure to allow the port above in FirewallD (in Webmin go to FirewallD and allow connections to that port ). Or temporary disable FirewallD (don’t forget to enable it!)
You should reach login screen. Log in to ViciBox virtual machine:
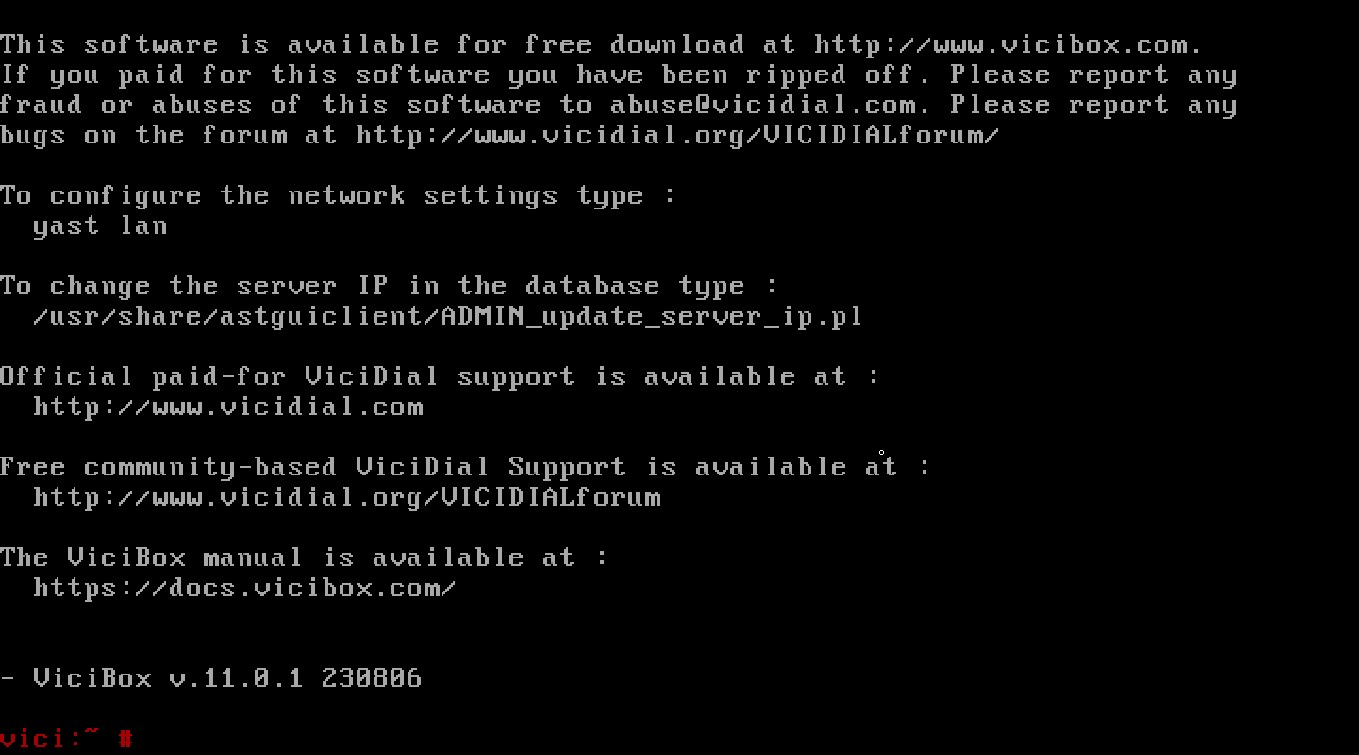
Now we need to assign IP and configure networking.
Execute
|
1 |
yast lan |
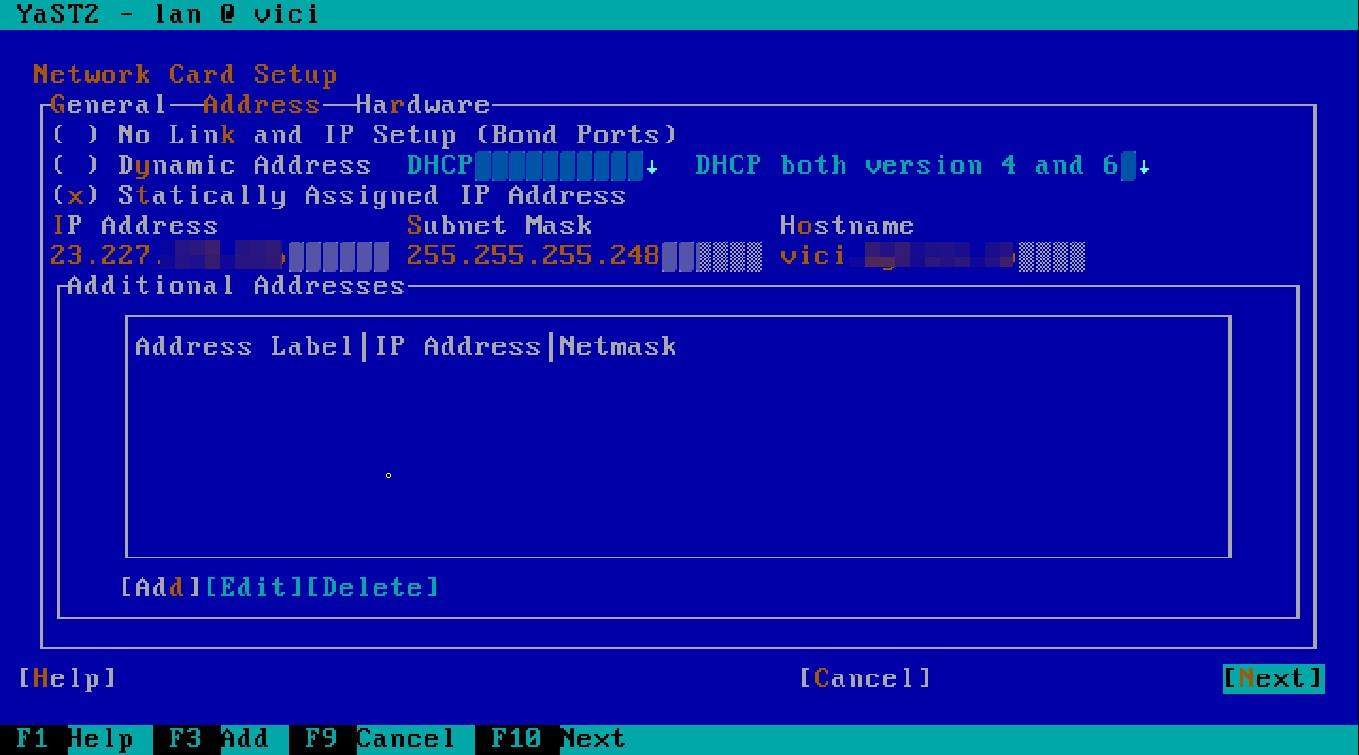
Use Tab button and arrows to navigate across menus. navigate to Overview and choose network controller that needs to be configured. Press Tab until “Edit” will be selected. Press “Enter“. Now disable DHCP and specify IP and Netmask. Press Tab to select “Statically assigned IP Address” and press “Enter“.
Now specify IP and netmask:
Choose Next and press Enter.
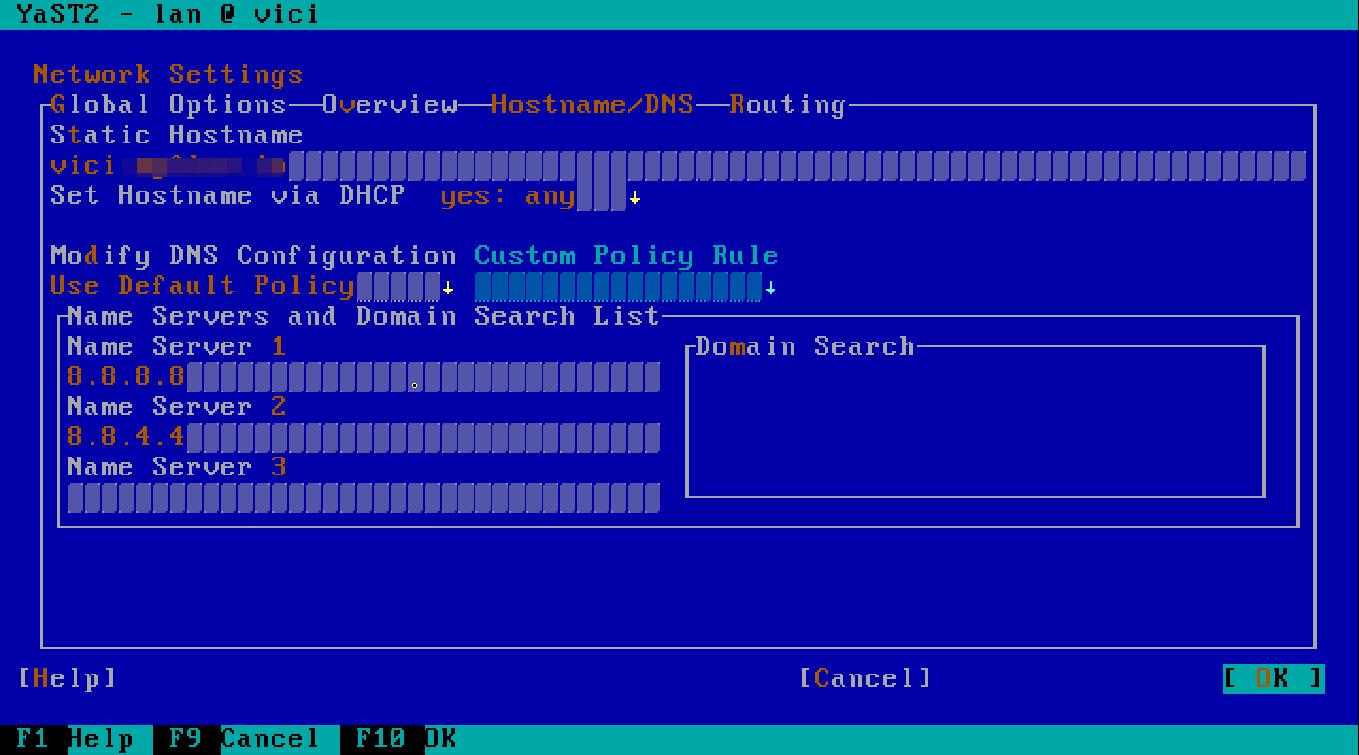
In the main screen press right arrow and navigate to Hostname/DNS. Specify nameservers:
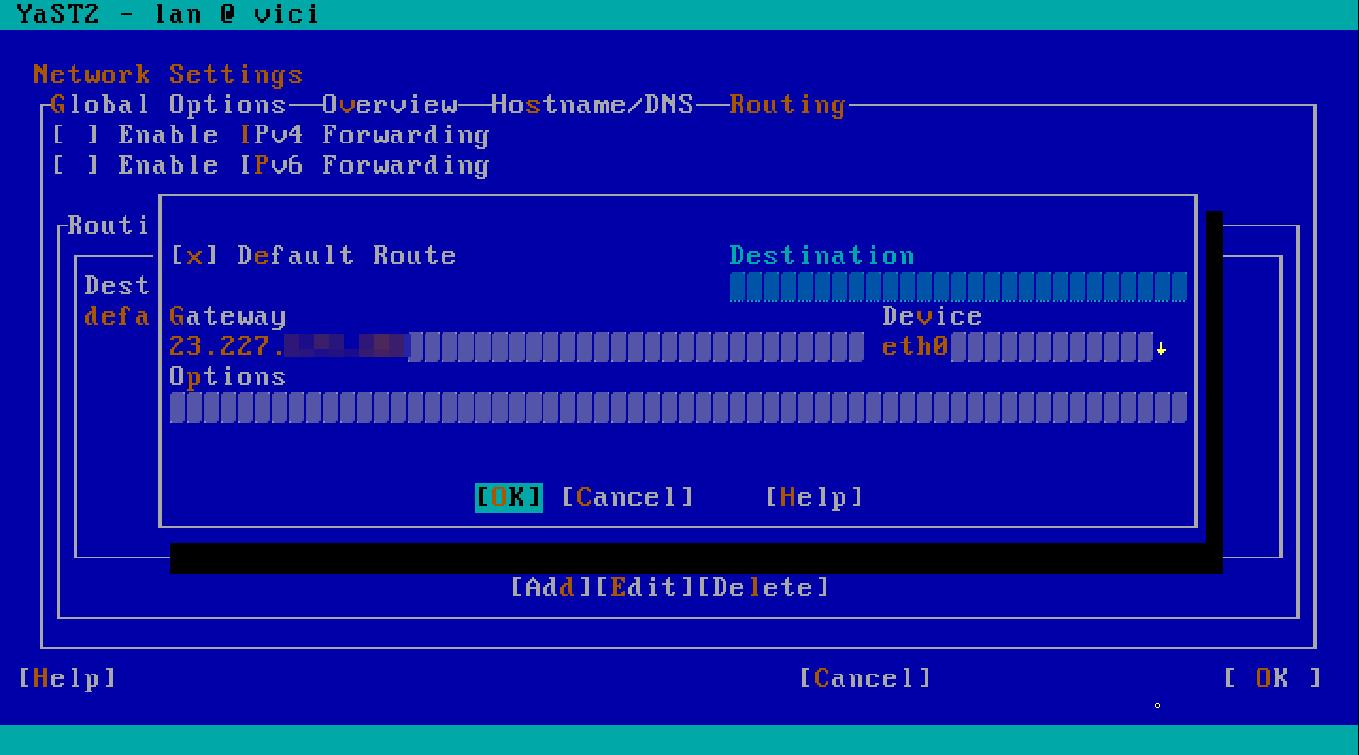
Press right arrow and go to Routing. Specify default gateway:
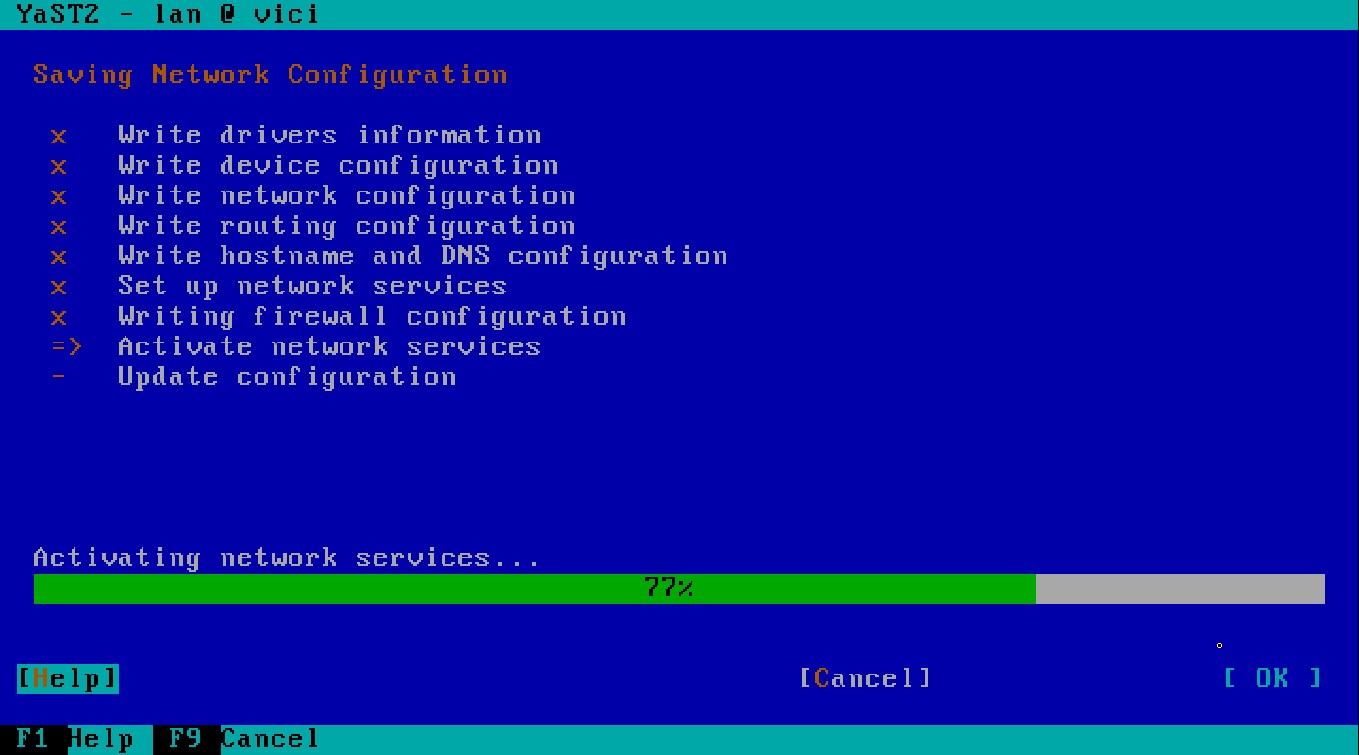
Use Tab to navigate to Ok button. The new configuration will be written and applied.
Now you should have networking up and running. Try to ping some pingable IP and connect to the VM with SSH.
Install ViciBox in Cloudmin virtual machine
Now in SSH session run
|
1 |
vicibox-install |
And finish the wizard to have ViciBox installed.
Good luck!